Netty의 데이터를 다루기 위한 기본적인 데이터 컨테이너이다..
Network상에서는 byte array 형태로 데이터가 왔다갔다 하는데, 해당 byte를 다루기 쉽게 해준다
우선 정의를 보자.
A random and sequential accessible sequence of zero or more bytes (octets). This interface provides an abstract view for one or more primitive byte arrays (byte[]) and NIO buffers.
8bit단위의 바이트나 zero 바이트를 랜덤또는 순차적으로 엑세스가 가능하고, 이것은 primitive byte arrays 나 NIO 버퍼의 추상화 뷰를 제공한다고 한다. ( 힘드네;;)
그리고 readerIndex, writerIndex가 있다고 한다.
그냥 한번 보자.
import org.junit.Test;
import org.slf4j.Logger;
import org.slf4j.LoggerFactory;

import io.netty.buffer.ByteBuf;
import io.netty.buffer.ByteBufUtil;
import io.netty.buffer.Unpooled;
import io.netty.util.CharsetUtil;

public class ByteBufExample {
    final static Logger logger = LoggerFactory.getLogger(ByteBufExample.class);

    @Test
    public void readIndexTest(){

        ByteBuf buf = Unpooled.copiedBuffer("Hello Netty", CharsetUtil.UTF_8);

        logger.info("\n{}", ByteBufUtil.prettyHexDump(buf));

        byte a = buf.readByte();
        logger.info("{}", String.format("hex=%X char=%s readerindex=%d writeindex=%d", a,(char)a, buf.readerIndex(),buf.writerIndex()));

        byte b = buf.readByte();
        logger.info("{}", String.format("hex=%X char=%s readierndex=%d writeindex=%d", b,(char)b, buf.readerIndex(),buf.writerIndex()));
    }
}
VS Code에서 Test를 디버그로 돌려 ByteBuf의 모습을 보자
우선 Breakpoint를 찍고 ByteBuf의 모습을 한번보자
readerIndex, writerIndex의 모습을 볼수가 있다.
readByte()에서 멈췄으니, readerIndex는 0이고, writeIndex는 11byte로 현재 문자열 끝에 가있다.

다음 단계로 내려가 보자.
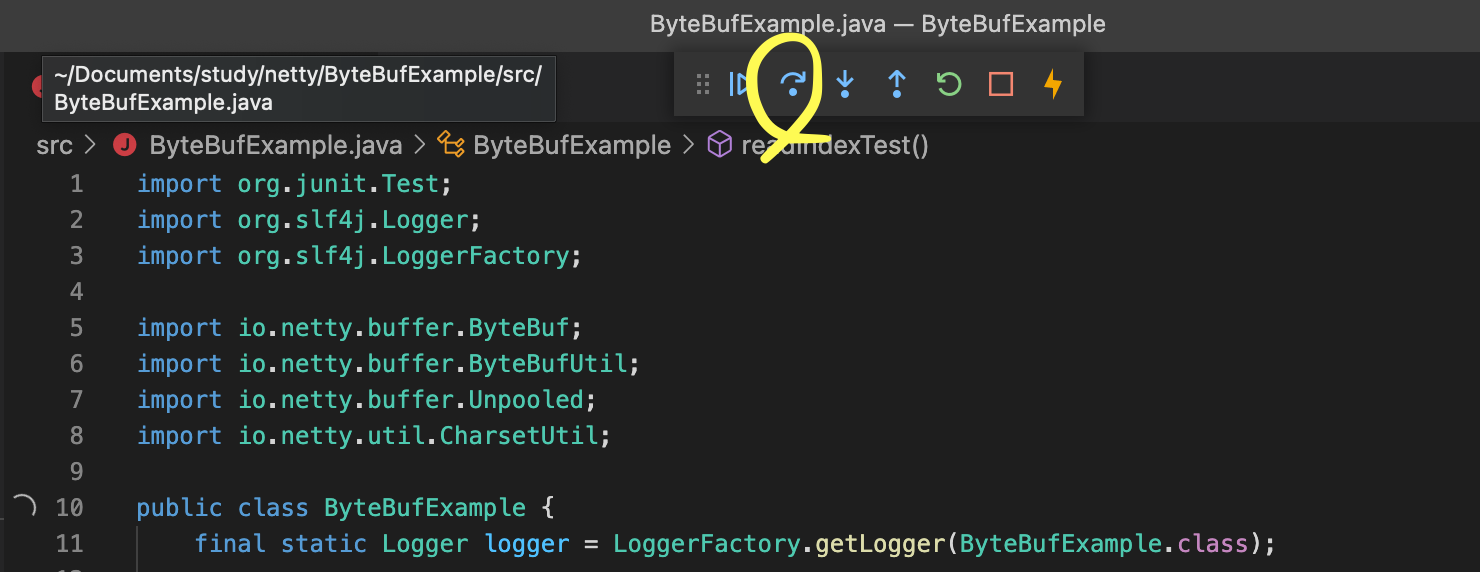
떠있는것중 아래꺼 누르면 다음 단계로 넘어간다.
그리고 디버깅 창에서 한번 더 입력해보자

readByte() 하면, readerIndex가 1이 증가 했다.
다시 진행해 보자 . 다음 readByte()를 하면 readerIndex 다음 1byte가 조회된다.

이 처럼 ByteBuf에서는 readerIndex를 가지고 있어, 굳이 다음껄 어떻게 읽어야 하지를 고민하지 않아도 readerIndex를 조정해서
read 함수를 호출하면 쉽게 읽을 수 있다.
동일한 방법으로도 writeIndex를 활용해서 쓸수도 있다..
ByteBuf 정의를 보면 총 4분류가 있는데
read로 시작하는 그룹(readByte, readInt..) 과 write로 시작하는 그룹(writeByte, writeInt...) 그룹
그리고 get으로 시작하는 그룹 (geByte, getInt .. ), set으로 시작하는 그룹(setByte, setInt..)가 있다.